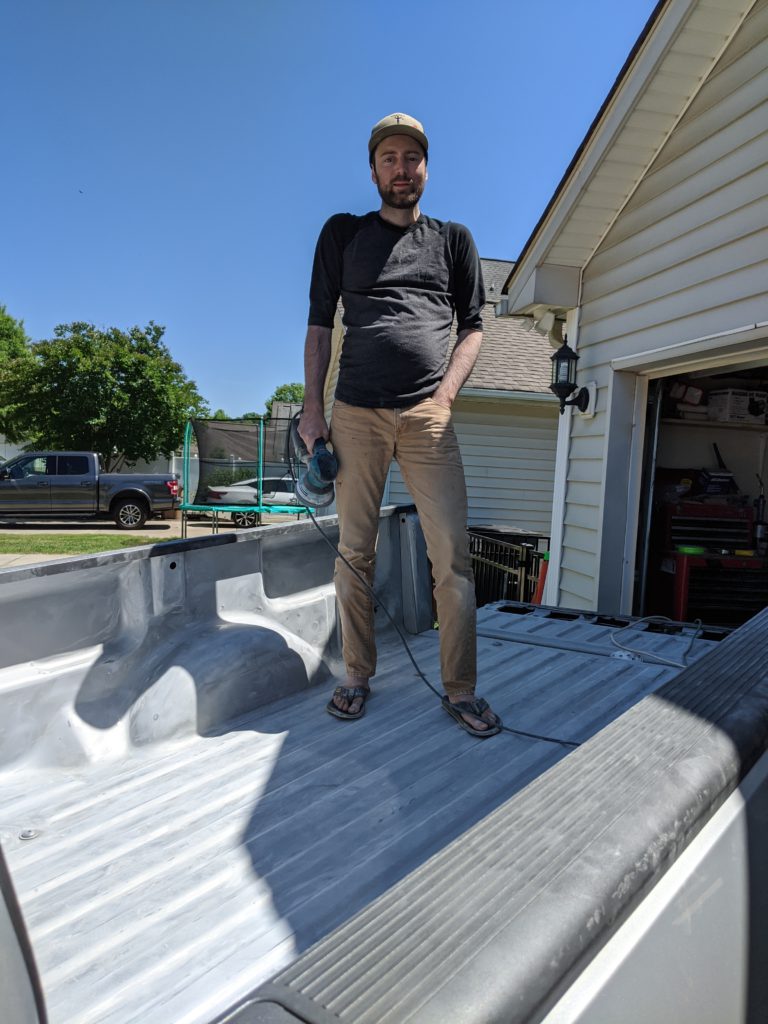
A Little Long Needed TLC
One thing that I had been needing to do for quite some time, was to give the old F150 pickup a little TLC. And the piece that I had been really dragging my feet on is some rust repair. She (my ford is a she, Deal with it) spent the first part of her life with my father in law in Asheville NC. Meaning, she has seen a LOT of snow, salt and nasty roads. It has taken its toll on a few panels. The worst being the bed, so I tackled that first. Let me walk you through how I did it. (Disclaimer, this by no means is the right way, or the wrong way. This is just the way I approached it.
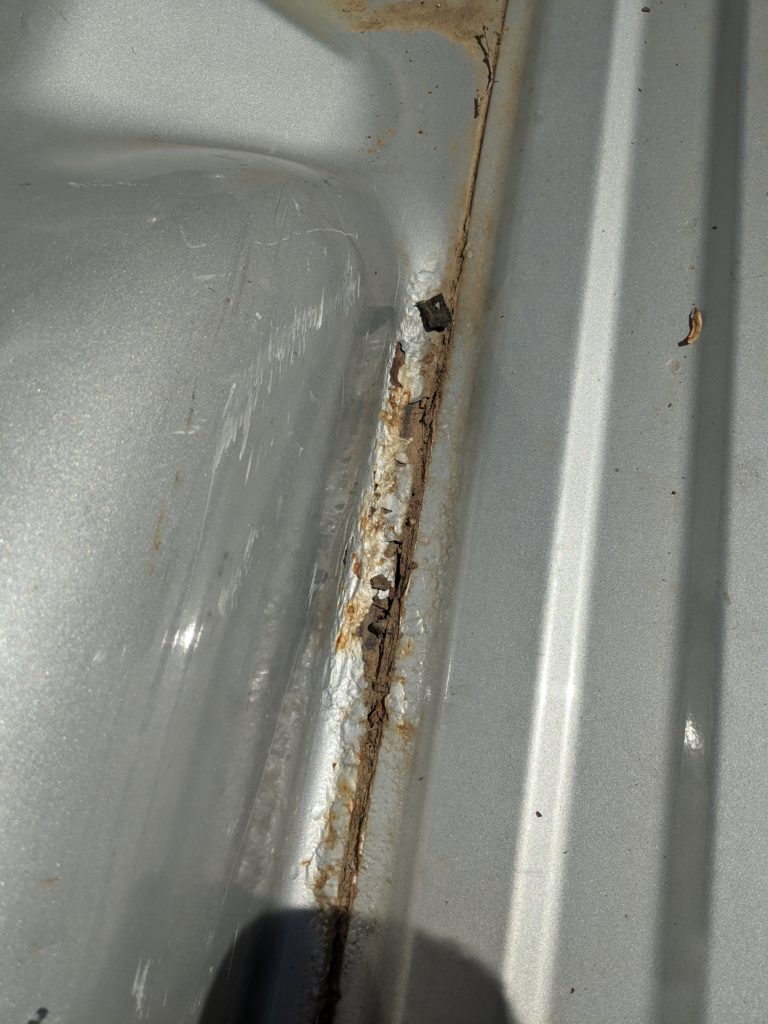
Step One: Identify the Rust
All it takes is a small scratch in the paint for a huge rust issue to develop. Once moisture gets to bare metal and the process begins it can and will spread under the paint itself. With this, rust often shows itself as someone might call “Bubbly Paint”. That is the case I have in the truck bed.
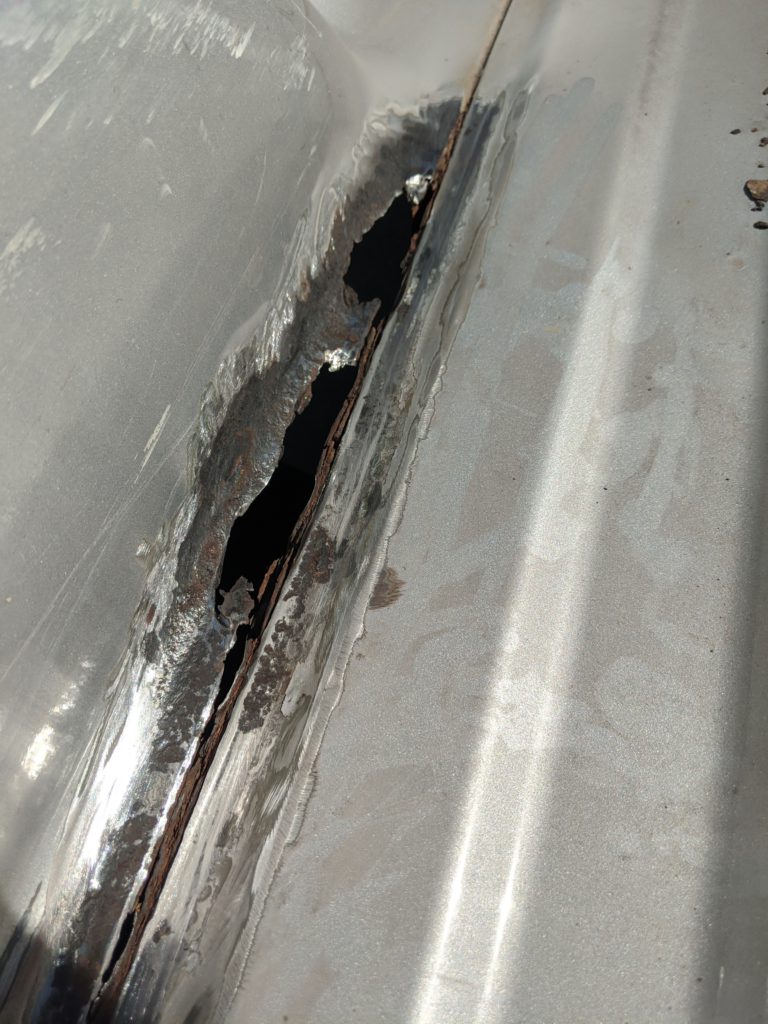
Step Two: Remove the Rust
This step may seem like common sense but if you move over it too quickly it’ll just come back, so you’re not really solving the problem. You’ll need To grind/sand out all of the rust to get to fresh metal. My tool of choice is a grinder with a wire wheel attached. If you’re welding in new metal like I am, you’re going to then want to cut out any metal that is left too thin. Another common solution is to cut out a shape that’s easier to fit, like a square patch or rectangle.
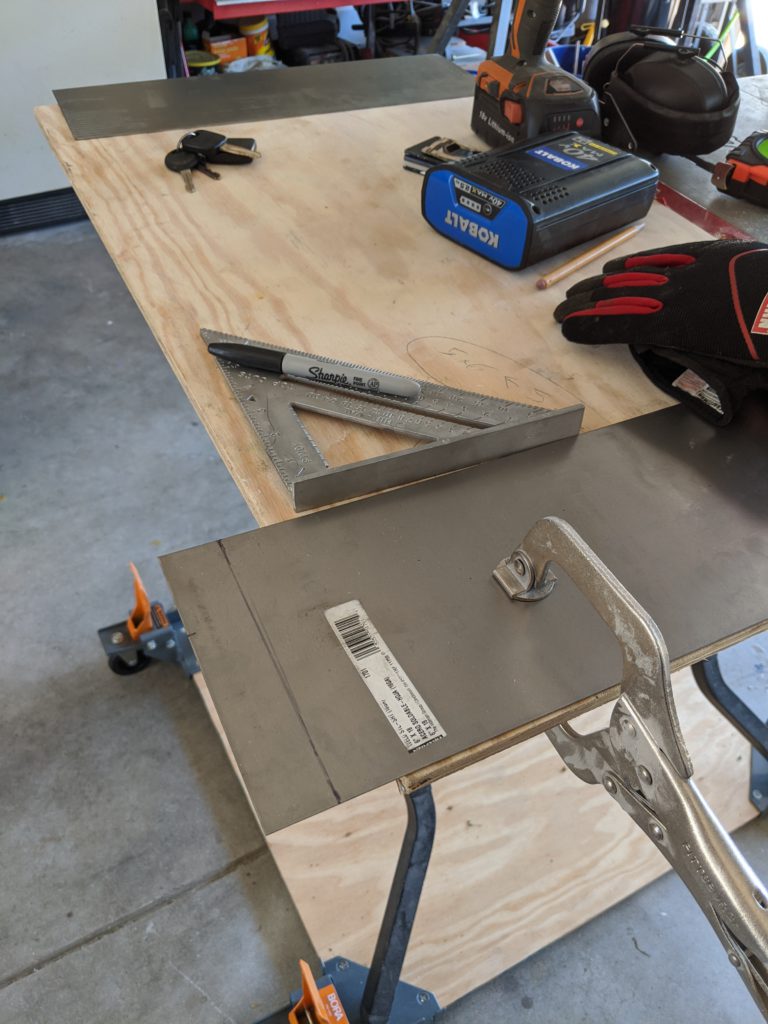
Step 3: Cut a Patch
You’re going to be left with some substantial holes in your sheet metal. Its time to Patch those back up. Do a quick google search to see what gauge sheet metal your truck bed came from the factory with. If you’re lucky you’ll have it on hand, if not, don’t fret! Your local Lowes and Home depot carry any gauge and size you’ll need.
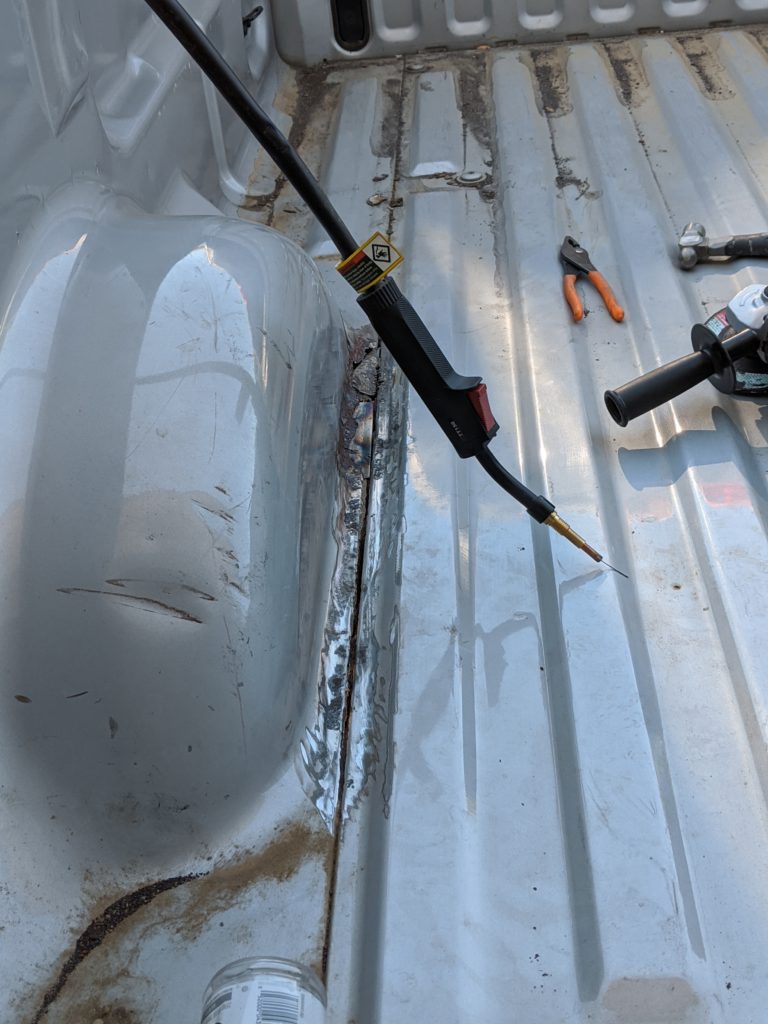
Step 4: Weld
Weld the Patch in. In my case, its not really in an area I would call load bearing, and its quite small. I rolled one side down to match the stamp press, and tac’d it in place. Take a grinder to the weld to clean your work up. If you’re like me and are bad at welding AND are OCD about how it looks you’ll spend a lot of time on this step haha. But once the welds meet your satisfaction, on to the next!
Step 5: Clean up
The basic repair is almost done. At this point you just need to make the whole thing look pretty and seal it up so moisture can’t get to the bare metal. To achieve this, I use my old friend Bondo. Mix up some bondo slap it on, let it set and sand. Pro tip! The thinner the coat the better. The best look will consist of multiple thin coats sanded in between applications. It also makes sanding a whole lot easier. Apply a few coats of primer. Sand a little more. And at this point you can apply paint and Clear coat.
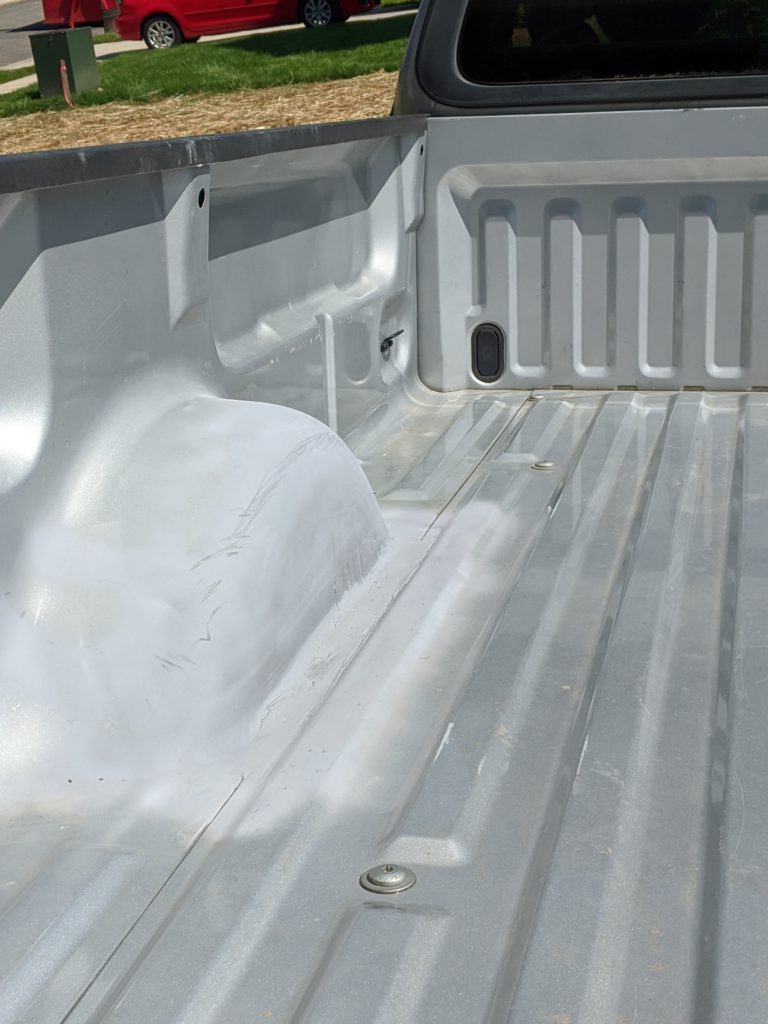
BUT WAIT THERE’S MORE!!!!
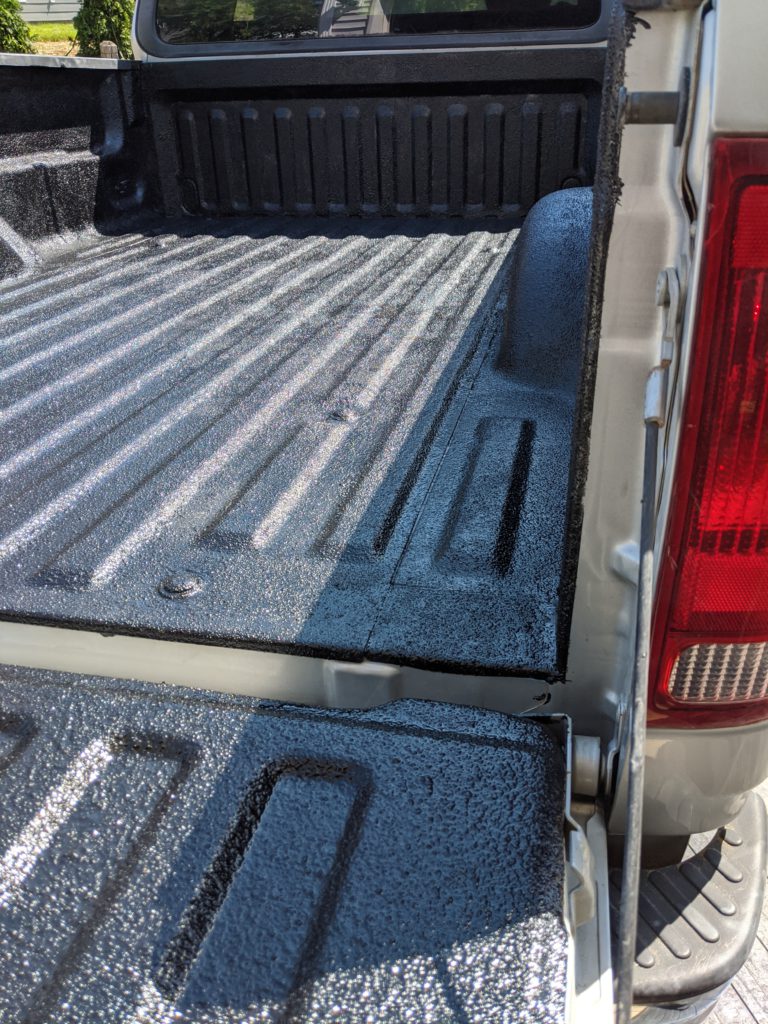
At this point you can call it a day but I’m not ready for a beer quite yet. I’m not one for doing the bare minimum. A truck bed gets used and abused. With my hobbies and lifestyle, I work the old girl. I made the decision when starting the process that I was going to go ahead and put in a bed liner.
Step 6: Prep Surface for Liner (AKA the worst afternoon of your life)
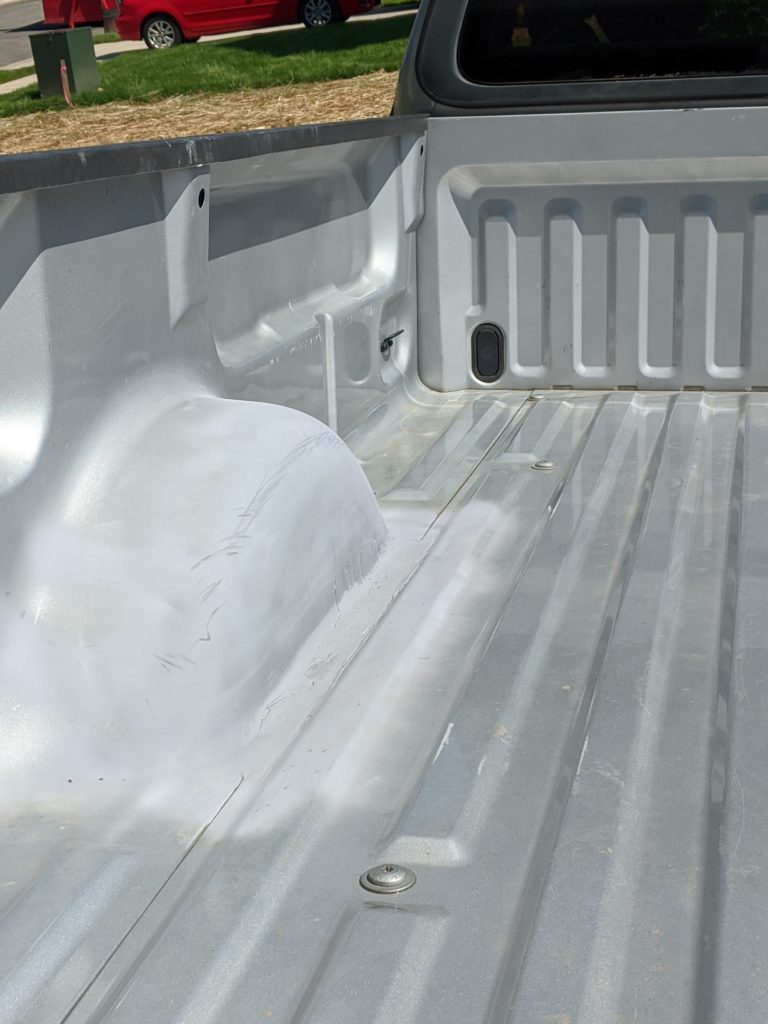
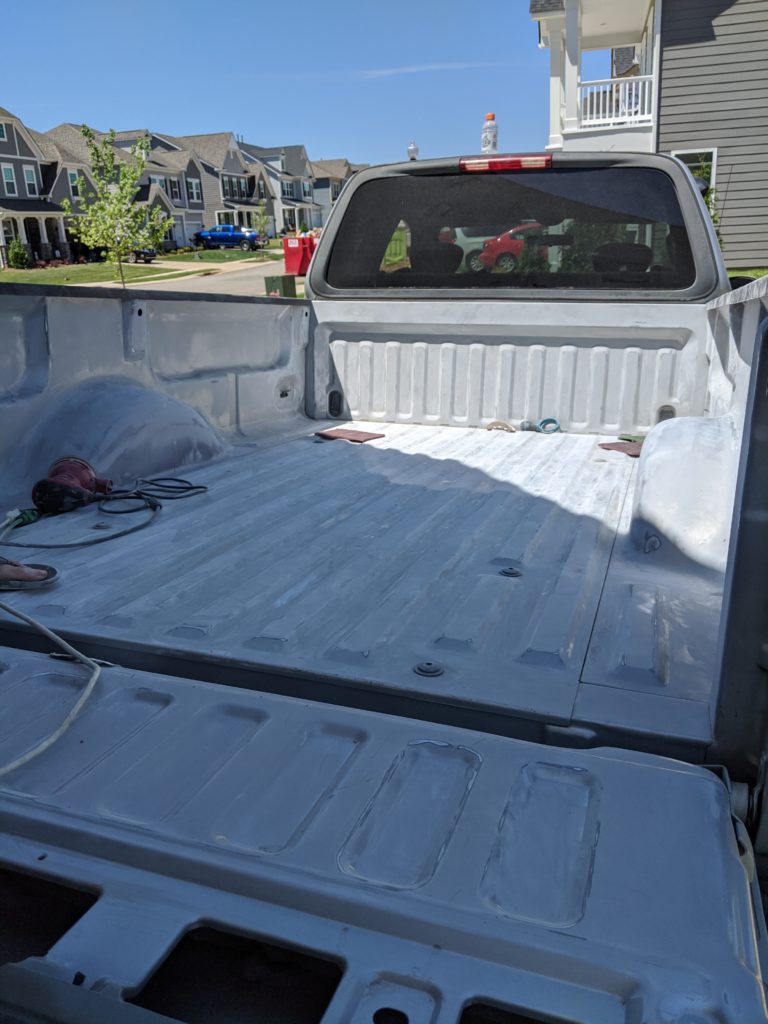
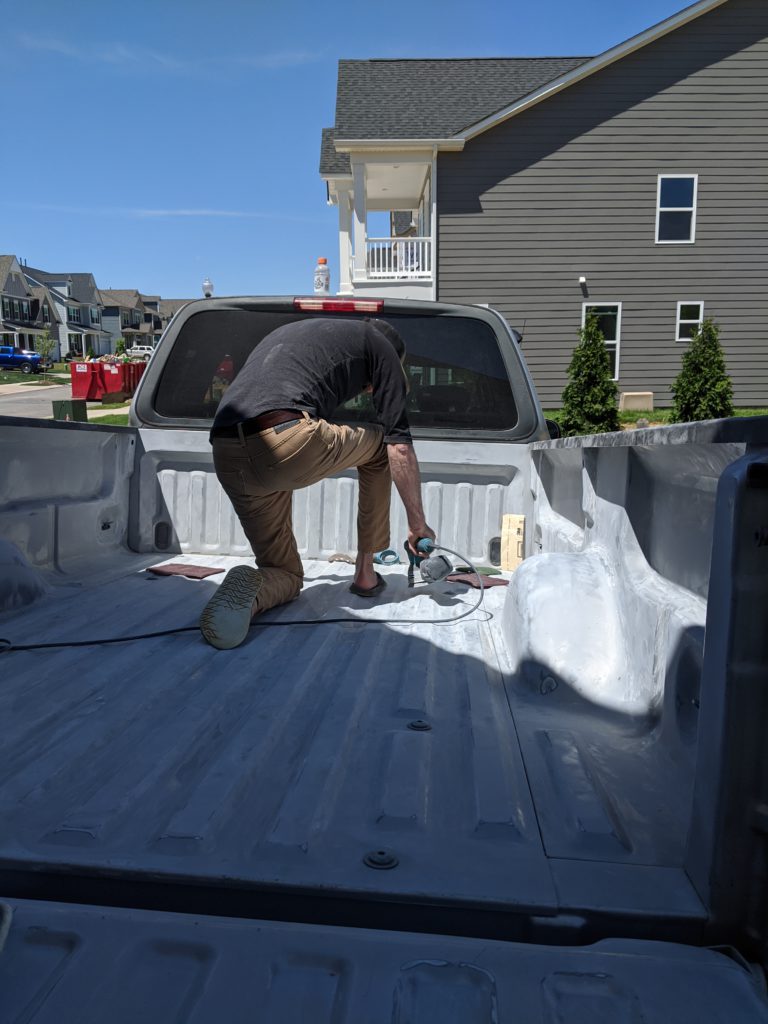
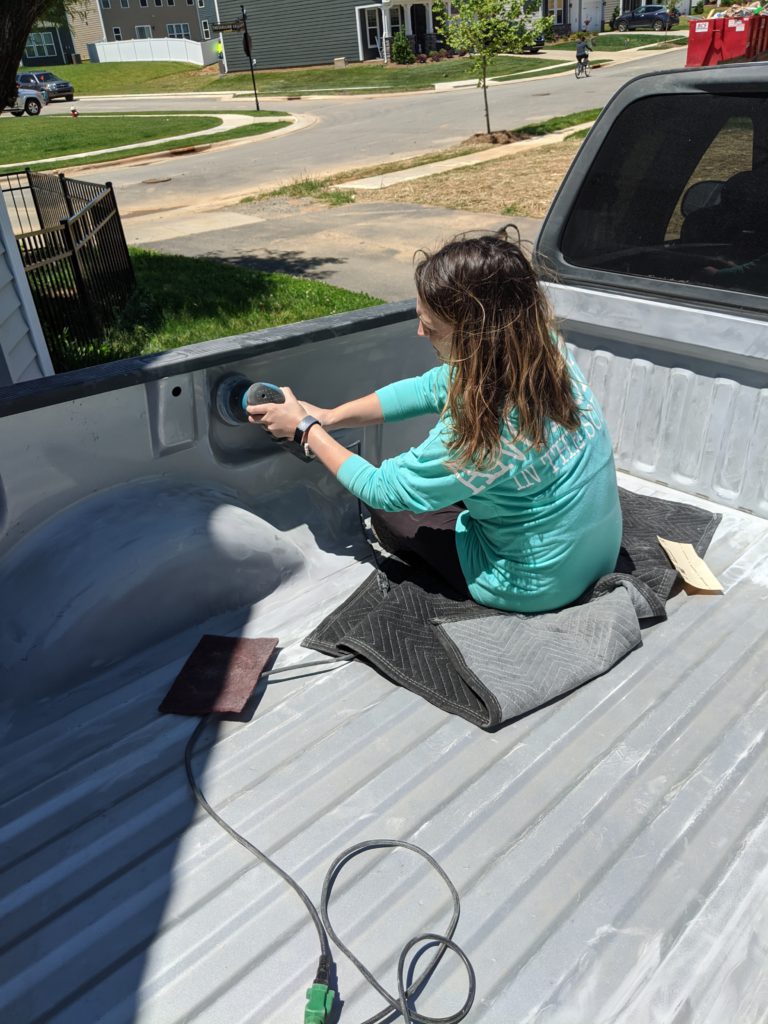
I’m not going to ever sugar coat anything for you. Prep work for something like this is the most time-consuming strenuous part of the entire process. You’re going to spend most of your day on this step alone. Sanding, cleaning, sanding some more and just when you think you’re done sanding, you see a little shimmer from missed clear coat AND you start sanding again. With that said, remember that the final product will only be as good as the prep work. The objective of this part is to essentially sand and rough up the surface so that the bedliner will have something to adhere to. This means all that shinny gloss coat must go. Sand into enough to remove this sheen.
At this point I was wishing I had a 6-foot bed. I had to call in some reinforcements. When you’re doing something as laborious as this, even if you don’t have Muscular Dystrophy, it’s a good idea to get some help. Katie is so good at coming to help. I can be stubborn and not ask for it when needed. This is one of those instances where she didn’t’ really ask, she just hopped in and started helping. Another Pro Tip! Marry your best friend who does things like that, you’ll never regret it!
Step 7: Apply Bed Liner
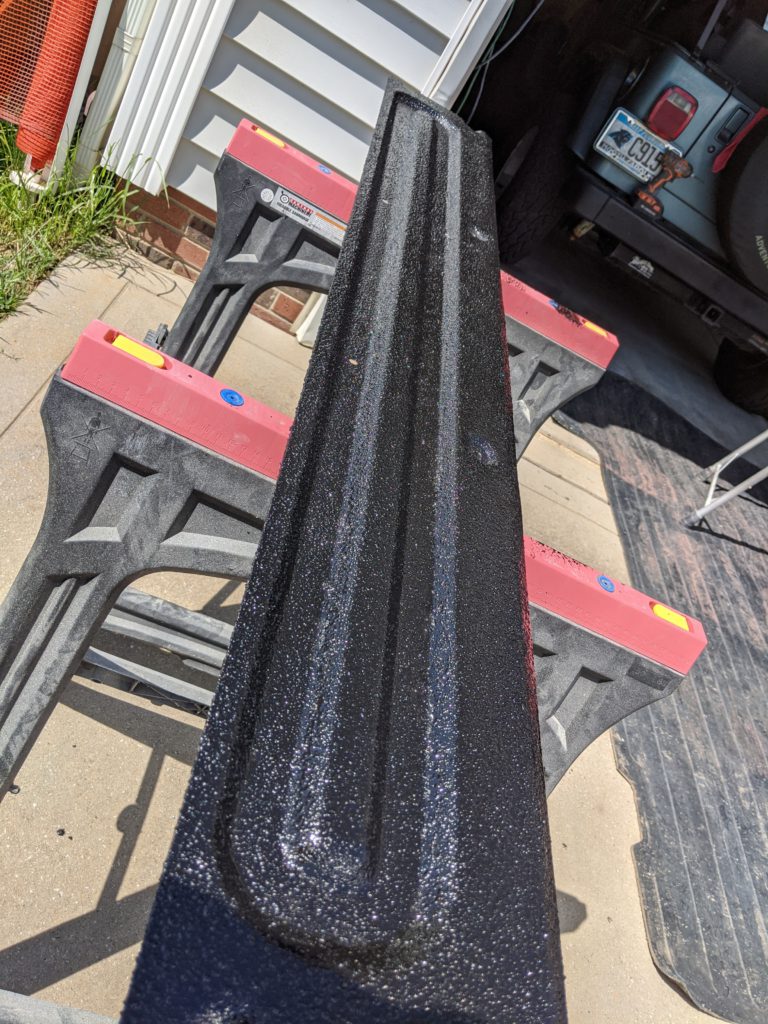
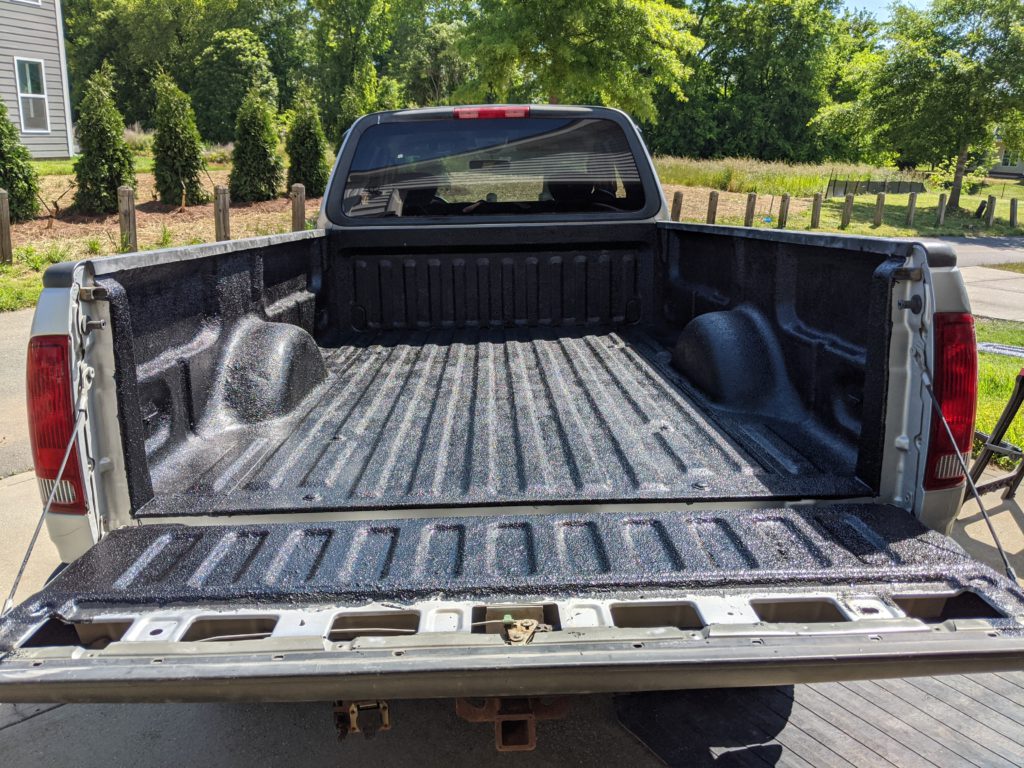
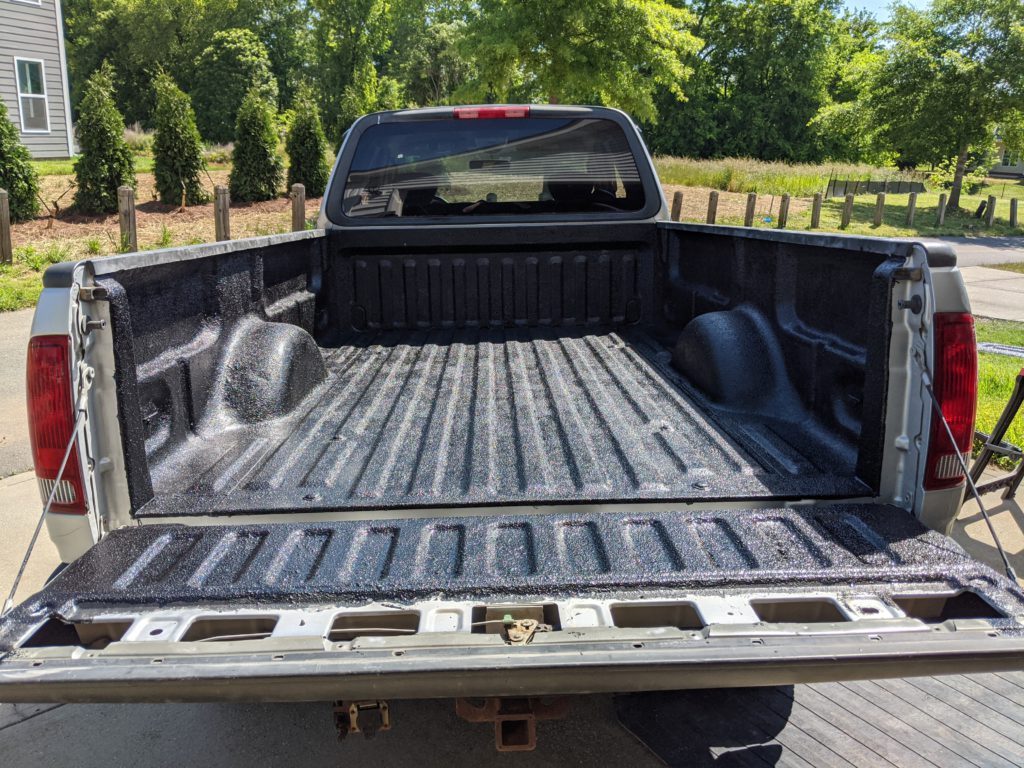
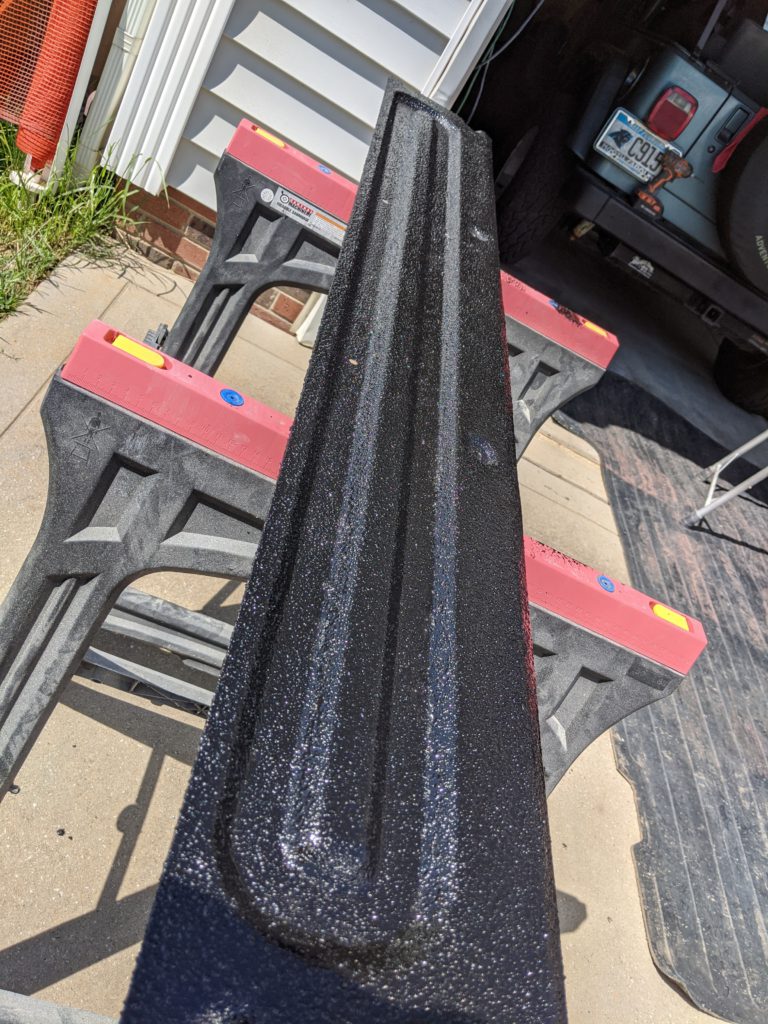
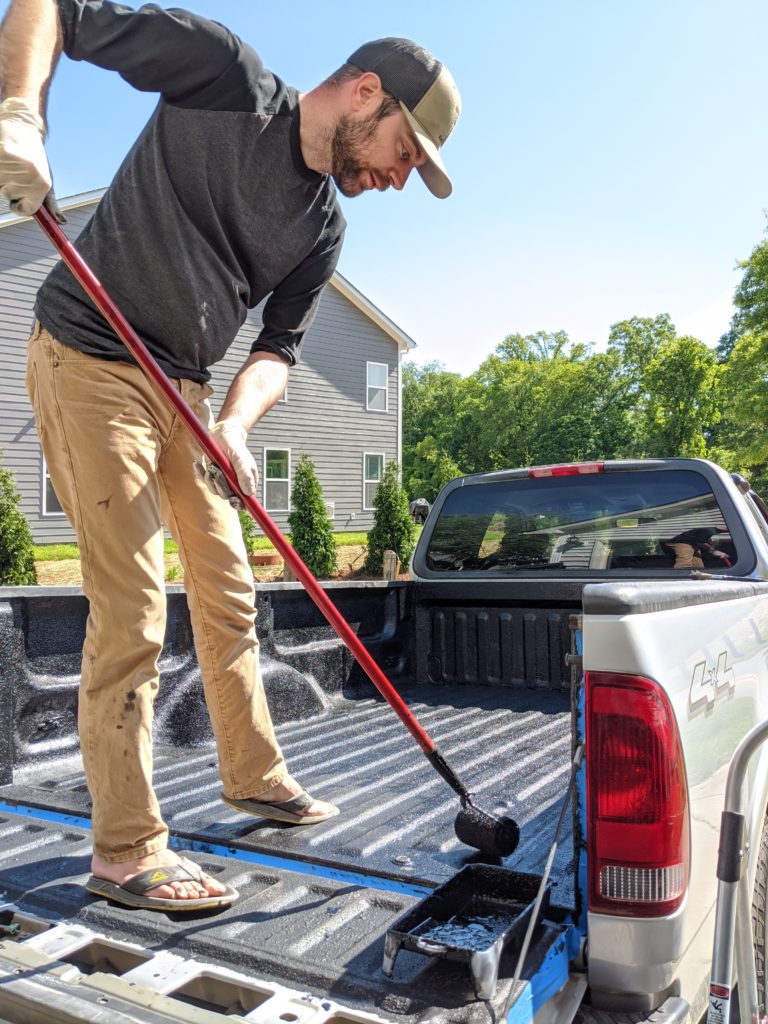
There are many different way’s you can do this. Spray in bed liners can either be sprayed in with an air compressor or with a spray paint can. The higher quality one’s you’ll need a pretty large air compressor to maintain the correct pressure while spraying. I do have one that could handle this, but I found a simpler solution that had glowing reviews. I found a “Roll On” bedliner called Herculiner. Sold by Lowes and its just like painting a wall. You use a paint a paint roller (comes with the kit) and you roll the paint on. The kit also comes with several brushes for getting into crevasses and area’s hard to reach with the roller. Being on your knee’s and hunched over rolling will really take its toll. I noted the roller it came with had a standard screw insert that any broom handle would have. So, I simply took the head off my garage broom and attached. This made a world of difference. Let dry and reapply 2nd and 3rd coat according to the directions.
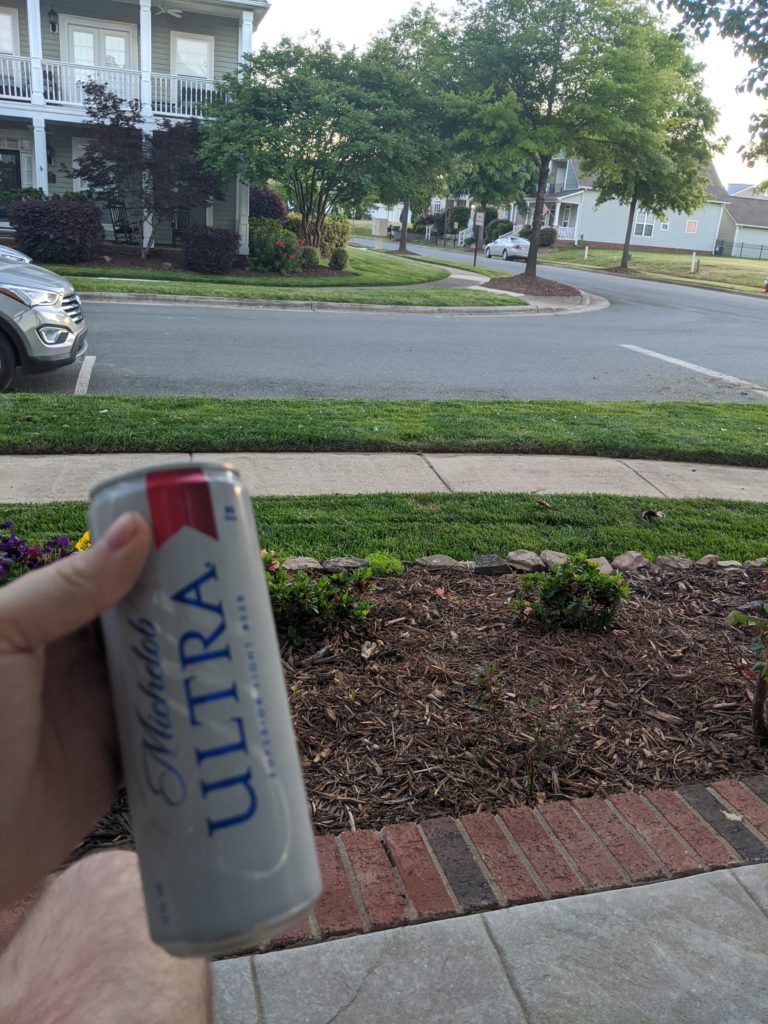
Step 8: Beer Thirty
Your work here is done. Yes, it was a day and a half worth of work but you saved hundreds of dollars, spent some quality time outside and with your truck. Pop open a bear and admire your work. You deserved it!
